
Do This Now
- 1 High-pass the orchestral double basses at 60Hz and let a sine sub an octave below carry the actual low end.
- 2 Give every instrument family its own reverb return. A shared reverb bus makes clean stems impossible.
- 3 Deliver isolated stems for strings, brass, woodwinds, percussion and synths. Nobody accepts a single stereo file.
- 4 Pan sequenced analog pulses hard left and right so they frame the acoustic material sitting in the centre.
- 5 Two basses on the same frequencies cancel rather than add. The drop goes thin exactly where you wanted weight.
Playing connects you to YouTube, which may set cookies.
Modern film scoring rarely relies strictly on a traditional orchestra. Creating a custom hybrid template allows you to blend organic string recordings with heavy analog sub-basses. Setting this up correctly requires rigid routing discipline to avoid frequency masking.
You cannot just layer an analog bass synth directly on top of a cello section. The complex harmonic saturation of an oscillator will immediately overpower the delicate acoustic transients of bowed strings. You must intentionally carve out frequency pockets for each instrument family using high and low pass filters.
Anchor the Low End Without Phase Collisions
Your initial goal in a hybrid track is anchoring the low end. Orchestral double basses provide specific acoustic grit and rhythmic attack. Electronic synthesizers absolutely excel at providing consistent sub-frequency weight below 50Hz.
The primary friction point here is low-frequency phasing. If your string basses and your synth basses are generating identical frequencies simultaneously, they will physically cancel each other out. Your massive drop will instantly sound thin and completely powerless.
To fix this phase collision, I aggressively high-pass the orchestral double basses at 60Hz. This completely removes the unstable acoustic sub frequencies from the recording. I then insert a pure sine wave synth playing exactly one octave lower to handle the strict sub energy.
- Double basses
- High-pass at 60Hz
- Sub synth
- Sine, one octave lower
- Synth territory
- Below 50Hz
- Collision symptom
- Thin, powerless drop
Route for Stems Before You Write a Note
Professional composers never export their final mix as a single stereo audio file. You must route your hybrid template into specific output groups called stems. A standard stem delivery requires completely isolated stereo files for strings, brass, woodwinds, percussion, and synths.
The major annoyance with stem routing occurs when using shared reverb auxiliary channels. If you send a synth and a violin to the exact same reverb bus, you cannot bounce isolated stems cleanly without cross-contamination. You must create dedicated reverb auxiliary returns for every single specific instrument family group.
- Stem groups
- Strings, brass, woodwinds, percussion, synths
- Reverb returns
- One per family
- Shared reverb bus
- Cross-contaminates every stem
I utilized this strict stem routing protocol on my last episodic television series. The re-recording mixer requested that all electronic pulses be completely separated from the orchestral percussion. Because my template already featured isolated auxiliary effects routing, generating clean stems took zero extra effort.
Wrap the Synths Around the Acoustic Centre
Traditional orchestral seating places instruments in very specific left and right field positions. Synthesizers have no physical seating chart and must be placed arbitrarily within the stereo field. Finding the right physical space for electronic pulses is mandatory for a wide mix.
A common mixing mistake is leaving every single analog sequence panned dead center. This completely crowds the lead vocal or principal solo instrument. You must spread your electronic elements wide to frame the centered acoustic material.
I traditionally pan heavy sequenced analog pulses hard left and hard right. This specific setup wraps the synthetic energy entirely around the acoustic brass section sitting in the middle.
Related Articles
Best Analog Emulations (Jupiter-8, Juno-106) for Producers
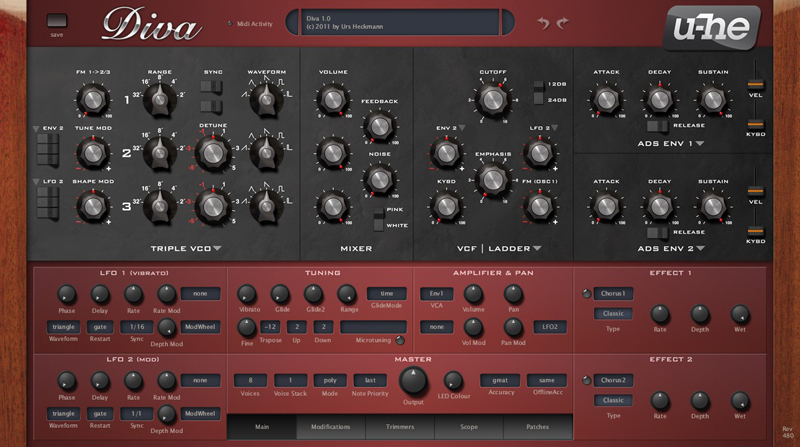
Warm, fat, and vintage. We review the top analog modeling plugins (Arturia, u-he Diva) that capture the behavior of real hardware.
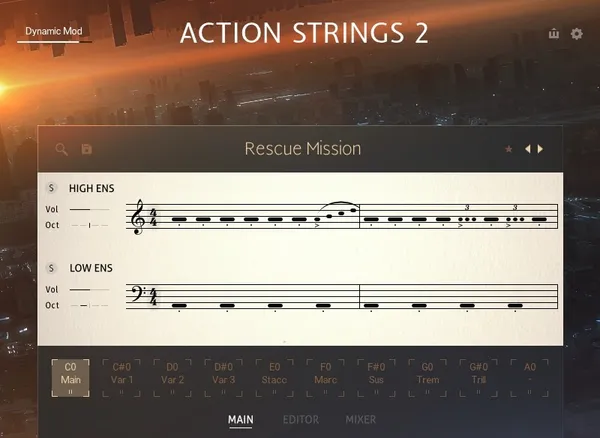
The Best Cinematic String Libraries for 2026
We tested the top string libraries for film scoring. From the lush legatos of CSS to the intimacy of Spitfire, find the best VSTs for emotional writing.
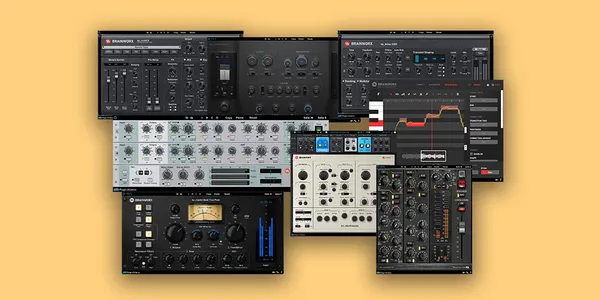
Best 'Bang for Buck' VST Bundles for Producers
Bulk savings, ranked by budget. Five bundles from 119 to 1249 dollars, covering the first mixing chain up to a complete scoring studio.
Frequently Asked Questions
Should synths and orchestra share the same reverb bus?
Send them to a shared tail so they occupy one space, but keep their pre-delay and early reflections separate. Synths generally need less early reflection than sampled instruments because they carry no recorded room of their own, and matching the two exactly makes the synth sound like it is behind the orchestra rather than inside it.
How do I stop a sub layer from eating the double basses?
High-pass the sub layer above the basses' fundamental or sidechain it to them. Most conflicts below 60 Hz are not a balance problem but two sources with overlapping fundamentals cancelling each other, and no amount of level riding fixes that.
How many tracks should a hybrid template have?
Few enough that you can find an instrument without searching. A template that covers the writing you actually do, with everything disabled until called, beats a thousand-track template that takes two minutes to load and buries the patch you need.
Should I use disabled tracks or purged patches?
Disabled tracks, where the DAW supports them. Disabling releases the RAM and the CPU entirely, where purging only frees the samples and leaves the instance and its scripts loaded. Purging is the better option mid-session; disabling is the better default at template level.
More Guides
All Guides →What Is a Mod Wheel? MIDI CC1 and What It Actually Controls
The mod wheel sends MIDI CC1, but what that does depends entirely on what is receiving it. Vibrato on a synth, dynamics on a sample library, and how to fix one that does nothing.
Workflow Tricks for Film Composers: Speeding Up MIDI Production
Practical DAW organization strategies, macro setups, and routing techniques to dramatically increase composition and mixing speeds.
How to Choose Sample Libraries for Professional Film Scoring
A practical, technical guide to selecting orchestral and hybrid virtual instruments without wasting money or destroying system resources.
New reviews, no noise
Occasional email when we publish something worth your time. No daily digest, no vendor press releases.
We store only your address, never sell it, and delete it as soon as you unsubscribe. See our privacy policy.

Louis Raveton
Louis works across immersive scores (Venice Biennale, LVMH) and animation (Canal+), while producing Downtempo and Electro-Dub as Monsieur Shwill and Flagada. He treats his sample drive like a record collection, constantly hunting for the perfect 'imperfect' texture