
Do This Now
- 1 Assign exactly one drum to the sub-60Hz band per cue and high-pass every other drum on that downbeat at 100Hz.
- 2 Expect the individual patches to sound thin when soloed. That is the frequency management working, not a mistake.
- 3 Use transient shaping and parallel compression rather than driving fifty taikos into a brick wall limiter.
- 4 Set around 40ms of pre-delay so the drum transient clears the reverb tail and fast writing stays aggressive.
- 5 Nudge a snare ensemble off centre. The same sample dead centre in mono reads noticeably narrower.
Playing connects you to YouTube, which may set cookies.
Cinematic percussion requires moving massive amounts of physical air. Traditional rock drum kits simply cannot provide the sheer scale required for action sequences. You must rely on layered orchestral bass drums and heavy synthetic impacts.
The biggest mistake amateur composers make is slamming everything against a digital limiter. Driving fifty taiko drums into a brick wall limiter ruins the transient attacks completely. You must rely on careful transient shaping and parallel compression instead of simple peak limiting.
Give the Sub to One Drum and High-Pass the Rest
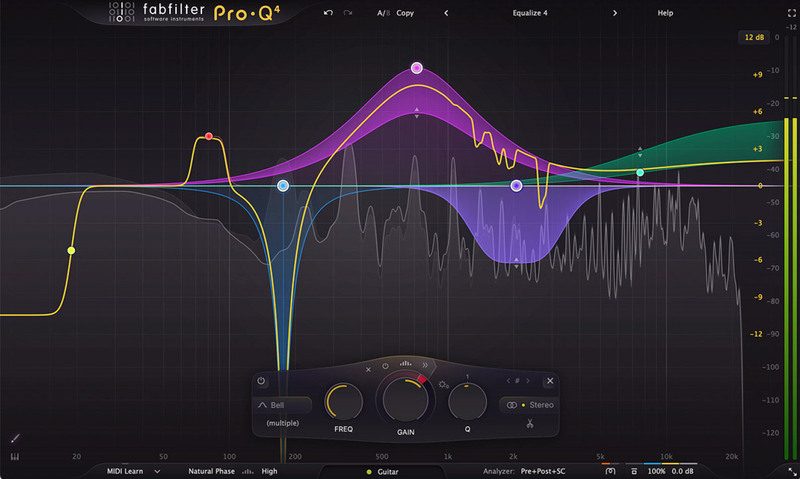
Layering multiple heavy drum hits precisely on the primary downbeat creates absolute chaos in the low end. Three separate bass drums hitting simultaneously will phase cancel or create unwanted volume spikes. You must be violently selective about which specific drum handles the sub frequencies.
I assign exactly one drum patch to handle the sub-60Hz frequency spectrum per composition. Every single other drum hit occurring on that exact downbeat gets aggressively high-passed at 100Hz. This strict frequency management allows the massive hit to hit incredibly hard without blowing out the mix bus.
- Sub duty
- One drum only, below 60Hz
- Every other layer
- High-pass at 100Hz
- Soloed result
- Thin, and that is correct
- Avoid
- Brick wall limiting the stack
The friction with this method is that individual drum patches sound thin when soloed during the programming stage. You simply have to trust the fundamental physics of the final mix. I relied on this exact strategy during a recent video game battle theme to maintain punchiness through heavy distortion.
Push Drums Back with Pre-Delay, Not Volume
Placing massive drums cleanly into a virtual room requires specialized acoustic spacing. A drum library recorded in an enormous hall will muddy the mix if placed in front of a dry string section. You must match the physical ambient room reflections to the rest of your orchestral template.
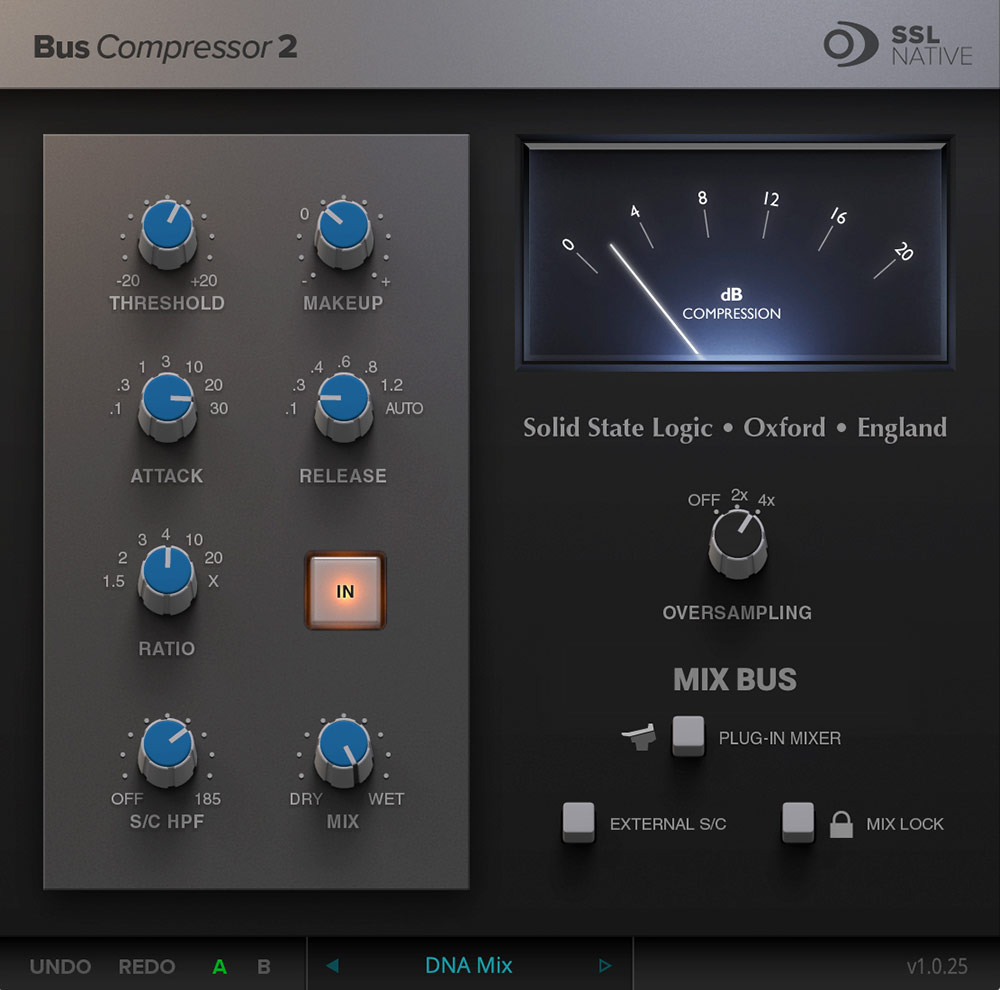
I utilize specific pre-delay calculations to push percussive elements to the back of the virtual stage. A pre-delay of roughly forty milliseconds separates the sharp initial drum transient from the messy reverb tail. This simple mathematical delay keeps dense rhythmic action sequences feeling fast and aggressive.
Another crucial technique is panning specific percussion layers aggressively. Placed slightly off-center, a massive snare ensemble sounds much wider than a perfectly centered mono hit.
- Percussion pre-delay
- 40ms
- Purpose
- Split transient from tail
- Snare ensemble
- Pan slightly off centre
- Match first
- Room tone to the template
Add Synthetic Ticks for Drive Above the Orchestra
Organic orchestral drums excel at sheer dynamic impact and volume. They frequently lack the subtle, relentless rhythmic drive required by modern thriller and action scores. You must integrate synthetic drum machines to generate intricate high-frequency motor rhythms.
A standard 808 hi-hat provides a razor-sharp transient that cuts straight through heavy brass sections. I run these synthetic ticking elements through heavy distortion plugins to add nasty upper harmonics. This specific harmonic saturation makes the pattern audible on cheap television speakers without turning up the actual volume fader.
Related Articles
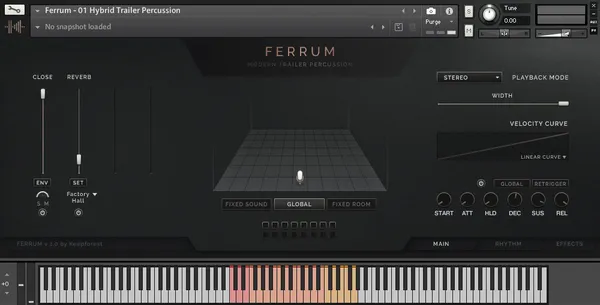
7 Best Cinematic Percussion VSTs for Huge Impact
A composer's brutally honest breakdown of the 7 best cinematic percussion VSTs. Heavy hits, dirty textures, and libraries that actually cut through dense mixes.

Best Bus Compressors (2026): The 'Glue'
Stick your mix together. We review the legendary SSL and API bus compressor emulations that give your track that finished 'record' sound.
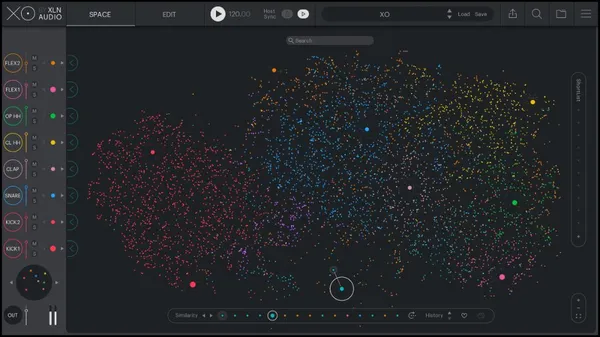
Best Drum Machine VSTs (2026): Vintage & Modern
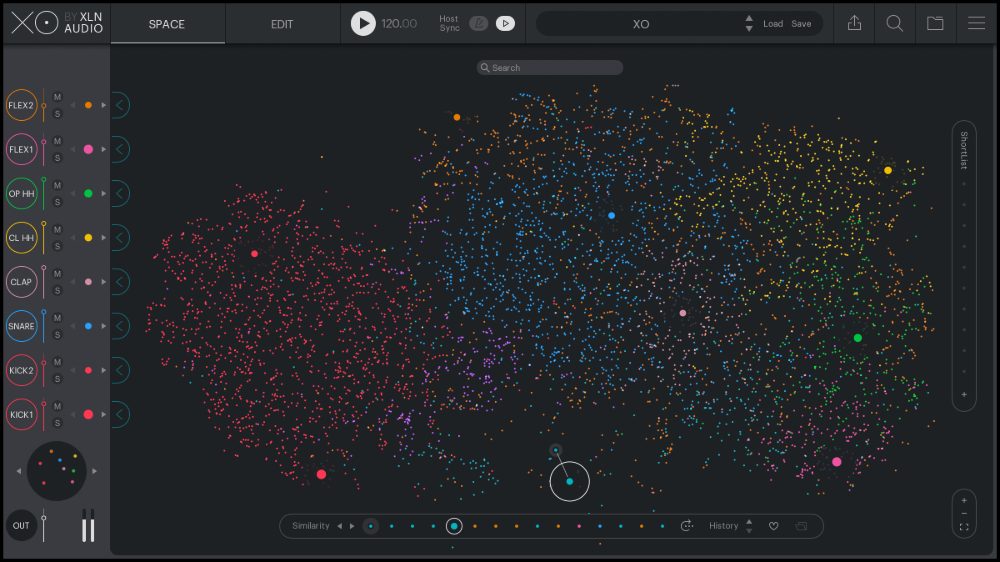
The boom and the clap. We review the best drum machine plugins (XO, Drumazon 2) for authentic 808s and modern sequencing.
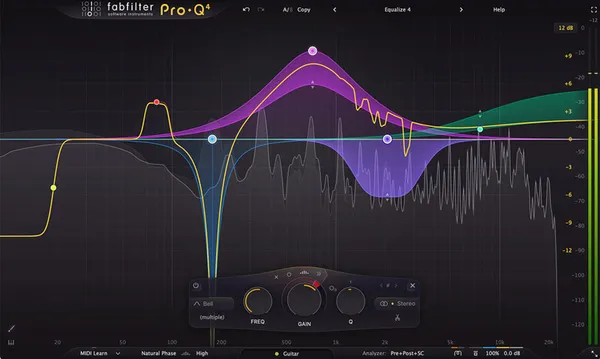
Best Essential Mixing Plugins (2026): The Toolkit
The absolute basics. We review the 7 indispensable plugins (Pro-Q 3, Ozone) that should be in every mixing template.
Frequently Asked Questions
Why does my trailer percussion disappear on small speakers?
Because the weight is all below 80 Hz, which a phone or laptop cannot reproduce. Layer a midrange transient, somewhere between 1 and 4 kHz, onto the same hit so there is something for a small speaker to render, and the part will translate without losing its size on a full system.
How do I keep layered percussion from sounding cluttered?
Give each layer one job and filter it to that job: sub for weight, body for the tone, a top layer for the attack. Layers that all run full-range fight each other, and the result reads as loud rather than large.
Should percussion be compressed before or after layering?
Compress the layers individually to control their own dynamics, then bus-compress the combined hit lightly for glue. Compressing only at the bus lets the loudest layer duck everything underneath it, which is what makes a stack sound like it is pumping.
What causes low-end friction between taikos and sub booms?
Both occupy the same octave with different decay times, so their fundamentals cancel and reinforce unpredictably. Pick one source to own below 60 Hz and high-pass the other above it.
More Guides
All Guides →The Basics of Mixing Cinematic Music: Depth, Width, and Phase
Advanced techniques for placing orchestral instruments into a 3D soundstage using precise panning, multi-tier reverb, and subtractive EQ.
How Loud Should a Cue Be? The Spec Nobody Sends You
Music for picture is not mastered to a streaming target. What -23 and -24 LUFS actually mean for a composer, why your cue sits under dialogue, and what to deliver when nobody specifies.
Mastering Master Bus Compression
A technical guide to implementing master bus compression, setting attack and release times for glue, and avoiding the over-compression trap.
New reviews, no noise
Occasional email when we publish something worth your time. No daily digest, no vendor press releases.
We store only your address, never sell it, and delete it as soon as you unsubscribe. See our privacy policy.

Henry Foster
Henry is a mixing engineer with a background in broadcast and post-production. He obsesses over signal flow, gain staging, and the subtle coloration of analog-modeled plugins. His reviews focus on technical precision, CPU efficiency, and UI workflow.