
Mixing a massive orchestral template requires absolute control over acoustic space. You are placing 100 individual instruments into a believable three-dimensional room. Standard pop mixing techniques will ruin a cinematic mix immediately.
Pop music relies on aggressive compression and artificial widening to force vocals to the front. Cinematic music requires preserving immense dynamic range and natural hall acoustics. If you apply a standard aggressive mastering limiter to a string section, you will destroy the emotional arc of the composition.
Your primary tools for establishing this space are panning and reverb. Left-to-right positioning mimics traditional seating charts. Front-to-back depth relies on early reflections and high-frequency roll-off.
Traditional Orchestral Panning Protocols
A standard symphony orchestra follows a very specific layout on a scoring stage. Replicating this panning is mandatory for a realistic mockup. You cannot simply pan everything center and rely on reverb to create space.
First violins always sit hard left in the stereo field. Second violins sit mid-left. Violas sit directly center or slightly mid-right. Cellos and double basses anchor the hard right side of the stage.
Woodwinds are typically seated dead center behind the string sections. Flutes and oboes are positioned slightly left of center. Clarinets and bassoons sit slightly right.
Brass sections sit behind the woodwinds. French horns usually pan mid-left to counter the heavy low end of the cellos on the right. Trumpets sit slightly right. Trombones and tubas occupy the heavy right side.
The Problem With Auto-Wideners
A common mistake among beginners is loading automatic widening plugins on the master bus. This completely ruins phase coherence across the entire mix. Your low frequencies will collapse and disappear when the track is summed to mono for television broadcast.
Always achieve width through individual track panning rather than artificial stereo spreaders. If a patch sounds too narrow in isolation, pan it manually. I used strict manual panning on every single patch during a recent documentary scoring session to ensure the dialogue channel remained perfectly clean.

Establishing Multi-Tier Reverb Systems
You cannot send an entire orchestra to a single hall reverb plugin. Real scoring stages have complex early reflections and dense late decay tails. A professional template uses a multi-tier reverb routing system.
I configure three separate auxiliary tracks for my orchestral template. The first is a short scoring stage room with a 1.2 second decay. The second is a large concert hall with a 2.5 second decay. The third is a massive cinematic wash with a 4 second decay.
You control depth by manipulating the send levels to these three auxiliary tracks. Instruments placed close to the microphones get very little early reflection and almost no hall reverb. Instruments sitting at the back of the stage get heavy sends to the room and hall reverbs.
Calculating Precise Pre-Delay Values
Pre-delay separates the dry signal from the onset of the reverb tail. If you set your pre-delay to zero, the reverb instantly smears the transient of the instrument. This causes fast staccato string passages to turn into a muddy blur.
You must calculate your pre-delay times based on the tempo of your composition. Divide 60,000 by your BPM to find the millisecond value of a quarter note. Divide that number further to find eighth or sixteenth note values for your exact pre-delay.
A 30 millisecond pre-delay is often perfect for separating percussion transients from a long hall tail. The major annoyance with pre-delay calculations is tempo mapping. If your sequence has heavy tempo ramps and ritardandos, static pre-delay values will drift out of time and cause subtle rhythmic flamming.
Frequency Carving and Setup
Every sample library you buy was recorded in a different room with different microphones. Layering these patches together creates a chaotic buildup of resonant room frequencies. You have to carve these frequencies out using precise subtractive equalization.
Managing Low-Mid Mud
The primary friction point in any cinematic mix is low-mid mud buildup. Multiple reverb tails overlapping creates a massive frequency clump between 200Hz and 400Hz. You must relentlessly equalize your reverb auxiliary returns to cut this muddiness.
I place a surgical digital EQ on every single hall reverb return track. I use a bell curve to cut 3 decibels at exactly 250Hz. If you skip this step, your mix will sound like it is playing underwater.
Another vital rule is high-passing your reverb sends. Low frequency information bouncing around a digital hall eats up all available headroom. I high-pass all signals entering my hall reverbs at 150Hz.
Applying High-Frequency Roll-Off for Depth
High frequencies naturally decay faster than low frequencies as sound travels through the air. An instrument located thirty feet away from a microphone sounds noticeably darker than an instrument three feet away. We replicate this physical reality using low-pass filters.
To push a brass section to the back of your mix, roll off all frequencies above 8kHz. Do not aggressively boost the high end on your brass busses. This makes the brass sound overly synthetic and aggressive while pulling them artificially to the front of the soundstage.
I employed heavy low-pass filtering during a recent action game trailer. The director wanted the brass to sound massive but distant. Rolling off the highs allowed the synth pulses to occupy the top end while the orchestral brass provided the mid-range weight.

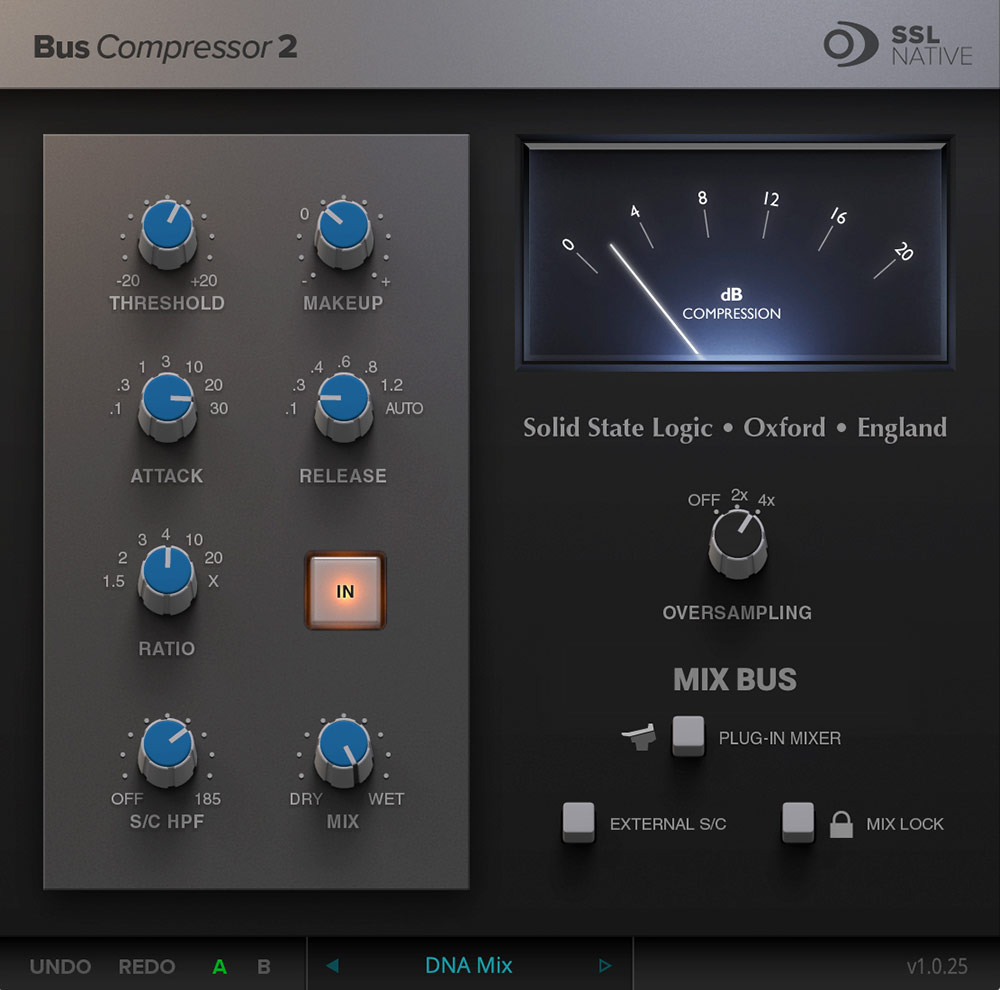
Bus Compression and Master Output
Orchestral dynamics require a very light touch on the master bus. You should not use aggressive brick-wall limiters on an orchestral recording. The goal is gluing the sections together without squashing the dynamic range.
Use a dedicated bus compressor on your master output or your instrument stems. You want a slow attack time around 30 milliseconds and a fast release. This allows the sharp transients of percussion to pass through before the compressor clamps down.
Set your compressor threshold to only catch the loudest peaks of the composition. You only want one or two decibels of gain reduction during the most massive orchestral tuttis. The frustration here is chasing volume levels for commercial standards. Clients always ask for classical mixes to be louder, which forces you to compromise the dynamic integrity of the track simply to match a reference file.
Related Articles

Best Bus Compressors (2026): The 'Glue'
Stick your mix together. We review the legendary SSL and API bus compressor emulations that give your track that finished 'record' sound.
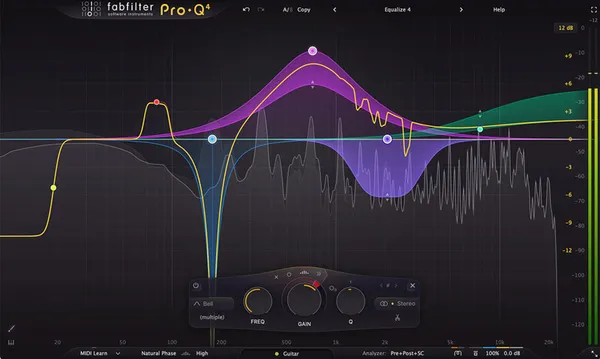
Best Essential Mixing Plugins (2026): The Toolkit
The absolute basics. We review the 7 indispensable plugins (Pro-Q 3, Ozone) that should be in every mixing template.
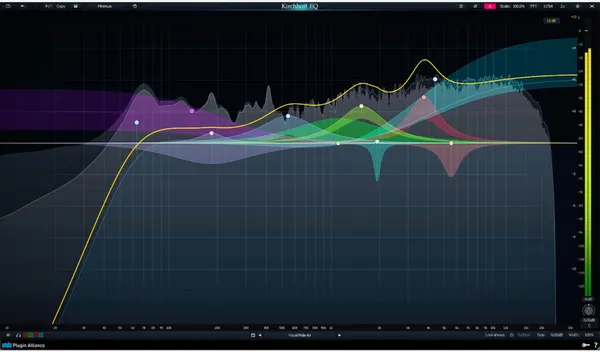
Best Orchestral EQs (2026): Clean & Surgical
Don't color the sound. We look at the most transparent EQs (Pro-Q 3, Kirchhoff) for carving out space in dense orchestral templates.

Henry Foster
Henry is a mixing engineer with a background in broadcast and post-production. He obsesses over signal flow, gain staging, and the subtle coloration of analog-modeled plugins. His reviews focus on technical precision, CPU efficiency, and UI workflow.