
Do This Now
- 1 Build three reverb buses on one impulse response, Close, Mid and Far, and send everything to them. Never insert a reverb per track.
- 2 Set the sends post-fader. Pre-fader leaves the room blaring when you pull a fader down, which breaks the whole system.
- 3 Place instruments with pre-delay, not level. 30 to 40ms reads as front of stage, 0 to 8ms pushes an instrument back.
- 4 High-pass every reverb send between 150Hz and 250Hz, and put the filter before the reverb rather than after it.
- 5 Ride the send levels down as the arrangement thickens. Reverb and density move in opposite directions.
Playing connects you to YouTube, which may set cookies.
A sampled orchestra arrives on your timeline as a pile of recordings that have never shared a room. Each library was captured in a different hall, at a different mic distance, with a different amount of decay already printed into the samples. Layering them without a plan produces a mix where everything sits equally close and equally loud, which a listener hears as small rather than intimate.
Reverb is how you fix that, and it is also how most composers make it worse. The instinct is to put a large hall on every track and raise the wet control until the mix sounds cinematic, which buries the articulation detail that made those libraries worth buying in the first place.
What follows is the routing, the parameter values, and the order of operations I use to put a sampled orchestra into one coherent space. I work in Cubase and Logic, but nothing here depends on the DAW.
Why Sampled Orchestras Sound Flat
Depth in a real recording comes from three cues arriving together: level, high frequency loss, and the ratio of direct sound to reflected sound. A player thirty feet back is quieter, duller, and reaches the microphone with proportionally more room than direct signal. Sample libraries recorded with close mics strip out the third cue almost entirely.
Composers usually try to rebuild depth with the first cue alone. Pulling a horn fader down does make it quieter, but it stays as dry and as present as the flute in front of it, so it reads as a quiet instrument standing at the front rather than a loud one standing at the back. This is the single most common reason a mockup sounds like a stack of soloists.
The fix is to control the direct-to-reverb ratio per instrument group and let level follow rather than lead. An instrument moves back when a greater proportion of what you hear is room, not when its fader drops. Once you internalise that, most of the decisions below stop being a matter of taste.
The friction is that many libraries ship with room already in them. A Spitfire library recorded at Air Lyndhurst carries the hall in the close mics, so adding a large hall on top gives you two rooms fighting. Check what you are starting with before you add anything, because subtracting baked-in room is not possible.
The Three Reverb Types and What Each Is Actually For
Algorithmic reverbs generate decay mathematically. They are cheap on CPU, they let you set decay time and density independently, and they are the right choice when you need a tail that behaves predictably under automation. Their weakness is that the early portion rarely sounds like a specific real place.
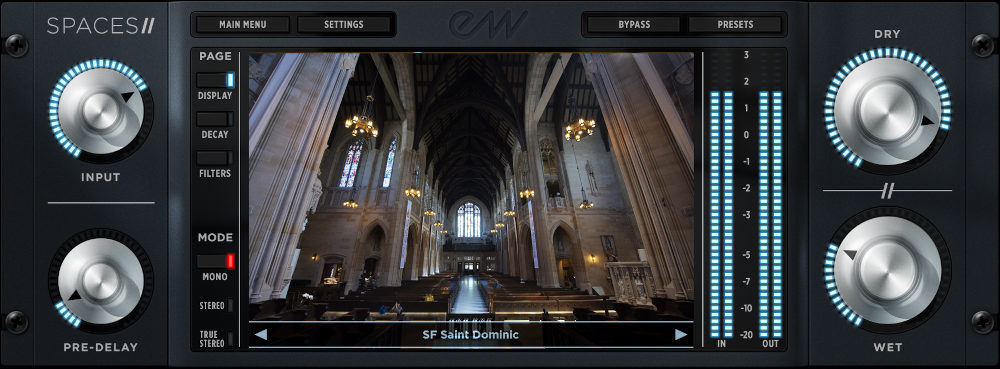
Convolution reverbs replay the measured response of an actual room. That makes them the most convincing option for orchestral work, because the early reflection pattern of a real hall is too complex to fake. The cost is CPU, latency, and near zero flexibility: you cannot meaningfully shorten a sampled hall without it sounding wrong.
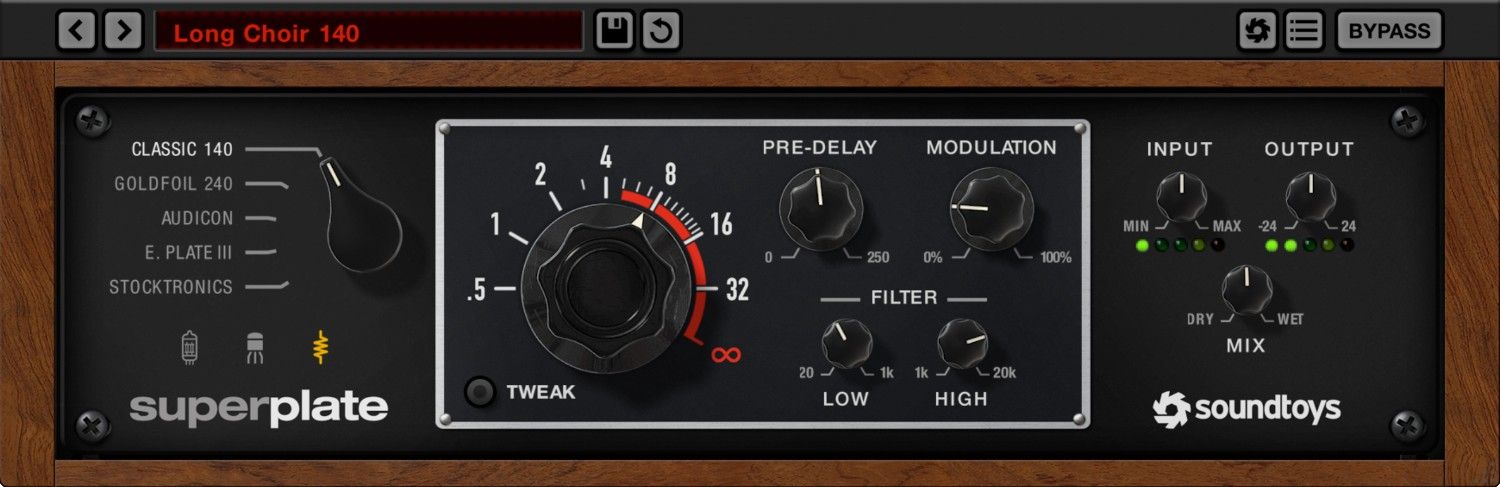
Plates and springs are not rooms at all. A plate is a sheet of metal with a dense, bright, spatially ambiguous decay, which is why it sits so well on solo instruments and voices that need size without being pushed backwards. A spring has a distinctive boing on transients that is either exactly what a scene needs or completely wrong for it.
In practice I run all three. Convolution carries the shared hall, an algorithmic unit handles long ambient tails I want to automate, and a plate sits on featured solo lines. Trying to do all of it with one reverb is where mixes go grey.
Build a Send Architecture, Not Insert Reverbs
Putting a reverb instance on every track is the most expensive possible way to work and it guarantees an incoherent result. Twenty instances of the same hall are twenty slightly different rooms, because each one is decaying against a different signal with different settings. It also multiplies your CPU load by twenty for no benefit.
Instead, build three or four reverb buses and send everything to them. I use a Close bus, a Mid bus, and a Far bus, all loaded with the same impulse response, differing only in send level and pre-delay. Every instrument in the template goes to one or more of these, which means the whole orchestra decays into a single consistent space.
Set the sends to post-fader. Pre-fader sends keep the reverb blaring when you pull a fader down, which breaks the direct-to-reverb relationship the whole system depends on. This catches people out constantly, because pre-fader is the correct choice for headphone cues and the wrong one here.
The friction with bus architecture is housekeeping. Adding a new instrument means remembering to route it, and an unrouted track sits bone dry at the front of the mix where it is obvious. I keep the routing in a template rather than rebuilding it per cue, because I have shipped a cue with a dry viola section and I would rather not do it again.
Pre-Delay Is the Control That Places Instruments
Pre-delay is the gap between the direct sound and the first reflection, and it is the parameter that does most of the positional work. A short pre-delay means the reflections arrive almost with the note, which is what happens when a source is far away or the room is small. A long pre-delay separates the two, which keeps the instrument forward and articulate while still placing it in a large space.
For a front-of-stage sound I set pre-delay around 30 to 40ms. That is long enough for the attack to speak clearly before the room answers, which is why solo instruments stay intelligible. For the Far bus I drop pre-delay to somewhere between 0 and 8ms, which glues the instrument into the room and pushes it back convincingly.
The Mid bus sits around 15 to 20ms. These are starting points and not rules, but the relationship between them matters more than the absolute values. If the numbers are the same on all three buses you have three volume settings, not three distances.
- Close bus
- 30-40ms pre-delay
- Mid bus
- 15-20ms pre-delay
- Far bus
- 0-8ms pre-delay
- Fast cues
- Shorten all three
Watch for pre-delay fighting your tempo. At 120bpm a sixteenth note is 125ms, and pre-delay in the 60ms range starts to read as a distinct slap that flams against fast ostinato writing. On fast cues I shorten pre-delay across the board and accept a slightly less forward sound.
Separate Early Reflections From the Tail
Most serious reverbs let you balance early reflections and the decay tail independently, and a lot of composers never touch it. Early reflections carry position information, which is to say they tell the listener where in the room something is standing. The tail carries size information, which tells them how big the room is.
This means you can build a mix where everything shares one large tail while individual sections sit at different depths. Send more early reflections to instruments you want placed back, and keep the featured line light on early reflections but present in the tail. The result is a section that sounds far away inside a hall that sounds enormous, without the soloist going with it.
Where this earns its keep is on brass. Sampled brass at high dynamics is aggressive and forward, and the standard response is to drown it, which kills the impact you wanted. Feeding it early reflections while restraining its tail keeps the punch and still seats it behind the strings.
The annoyance is that not every plugin exposes both controls, and some that do label them unhelpfully. If your reverb only has a single wet control you can approximate the split by running two instances, one with decay set very short for the reflections and one with the full tail, which costs CPU but works.
Reconciling Libraries Recorded in Different Rooms
This is the actual problem most composers have, and no amount of reverb on the master bus solves it. A Berlin-recorded string library and a Los Angeles-recorded brass library carry different rooms in their samples, and layering them produces a mix that feels subtly wrong in a way that is hard to name. The two decays disagree about how large the space is.
The first move is to find the driest library in the template and treat it as your reference. Everything else needs to be pulled toward it, which usually means using the closest mic positions available on the wetter libraries rather than the mixed or tree positions. You are trying to get all sources roughly equally dry before you add a shared room.
Only then do you send them to the common reverb buses. The shared hall is what makes them sound like one ensemble, and it can only do that if it is not competing with two other halls already in the samples.
Sometimes a library is simply too wet to reconcile and there is no honest fix. The Cinematic Studio libraries, for instance, are voiced with a specific room that you cannot remove, so trying to place them into a different hall usually reads as a mistake. In that case I use them as the reference and bend everything else to match, which is less satisfying than it sounds but produces a better cue than the alternative.
EQ Inside the Reverb Chain
A reverb send with no EQ on it is the fastest way to make a mix muddy. Low frequencies excite a reverb far more than they should, so a cello section feeding an unfiltered hall smears the entire low midrange. Putting a high pass filter at the top of the reverb bus, before the reverb, is not optional in orchestral work.
I high pass reverb sends somewhere between 150Hz and 250Hz depending on the cue. That sounds aggressive on paper and is inaudible in practice, because the ear takes position cues from the midrange and above, not from the bottom octaves. What you get back is a low end that stays defined while the room still sounds large.
A low pass helps too. Rolling the send off above 8kHz to 10kHz mimics the natural high frequency absorption of air and soft furnishings, and it stops sampled brass and percussion from lighting up the tail with harsh top end.
- High pass
- 150-250Hz
- Low pass
- 8-10kHz
- Filter position
- Before the reverb, not after
- Muddy mix default
- 200Hz high pass
The mistake I made for years was EQing after the reverb instead of before it. Filtering afterwards changes the tone of the decay you already generated, while filtering beforehand changes what the reverb is being asked to work with. The second is far more effective and costs the same.
Vocals and Featured Solo Lines
Cinematic vocals follow different rules from the orchestra behind them, because a voice needs to stay intelligible while the ensemble is allowed to blur. Sending a solo vocal to the same Far bus as the string section makes it sound like part of the arrangement, which is occasionally what you want and usually not.
For a featured vocal I use a plate on its own send, with pre-delay set by ear against the tempo so that the reverb blooms in the gaps between phrases. Around 80 to 120ms of pre-delay is a normal starting range for slower material, which is much longer than anything on the orchestral buses. The plate gives size without the positional information that would push the singer back into the ensemble.
Ambient and wordless vocals are the opposite case. Those want the shared hall, long tails, and enough early reflections to sit inside the orchestra rather than in front of it, because their job is texture rather than lead.
The friction here is sibilance. A plate is bright by design, and it will take every ess in the performance and hang it in the air for two seconds. De-essing before the send, not after it, is the fix, and it is worth a dedicated de-esser instance on the send itself rather than relying on the one already on the vocal channel.
Automating the Room Across a Cue
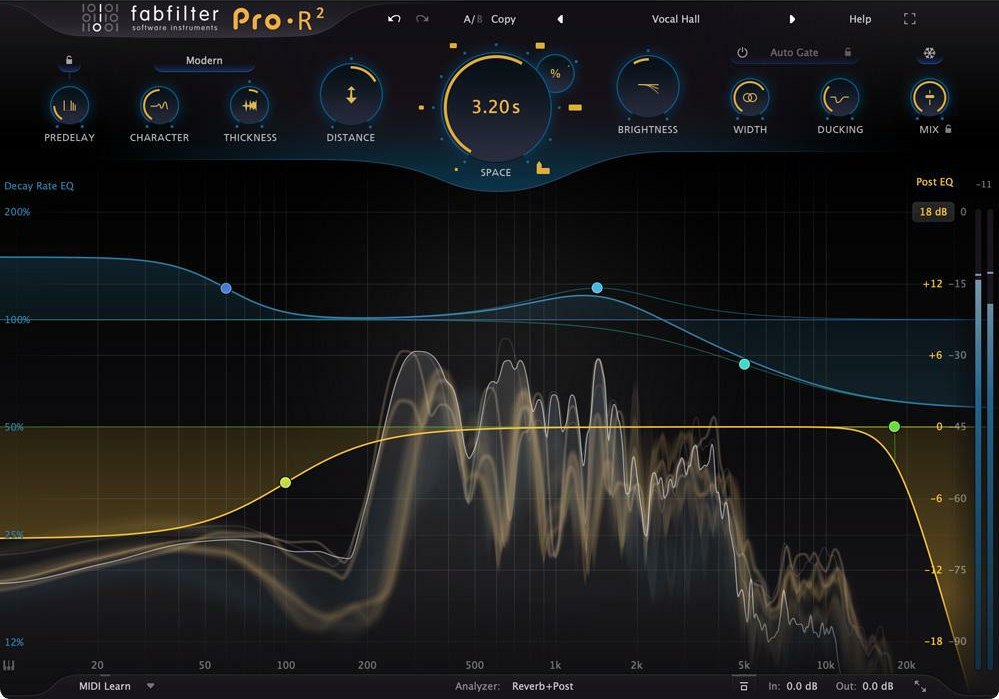
A single static reverb setting across four minutes of music is a wasted opportunity, because the amount of room a cue needs changes with its density. A sparse opening with two solo instruments can carry a great deal of tail without turning to mush. The same setting under a full tutti at bar sixty will smear the whole thing.
The general rule is that reverb send levels move inversely to arrangement density. As instruments enter, pull the sends down, because the instruments themselves are now providing the sense of scale that the reverb was faking. This is counterintuitive, since the loud section is the one that feels like it should be the biggest, and it is the single most useful piece of mixing automation in cinematic work.
I automate the send levels rather than the reverb parameters. Changing decay time mid-cue causes audible artifacts as the algorithm reconfigures, while a send level is just a fader and moves cleanly. If a section genuinely needs a different room rather than less of the same one, that is a second bus, not an automated parameter.
Transitions are where this pays off most obviously. Dropping the orchestra out and letting a long algorithmic tail ring into the next scene is the oldest trick in film scoring and it still works, but only if that tail has its own fader to ride. If the reverb is buried inside an insert on each track you cannot do it at all.
The friction is that automation and template reuse pull against each other. Automation lanes are per cue, so the more you automate the less your template does for you. I keep automation to three lanes (the three send levels) and resist the urge to go further, because past that the setup time stops being worth it.
Diagnosing a Mix That Has Gone Wrong
Four failure modes account for most cinematic mixes that are not working, and each has a distinct cause worth learning to hear.
Everything sounds close and small. The direct-to-reverb ratio is too high across the board, usually because sends were set by eye rather than by ear. Mute the dry signal entirely and listen to the reverb buses alone, which tells you immediately whether there is any meaningful room to be heard.
The mix is muddy but the individual tracks are clean. This is almost always unfiltered reverb sends letting low frequencies excite the tail. High passing the sends at 200Hz fixes it more reliably than any amount of EQ on the source tracks.
Instruments sound distant but the mix still feels flat. Everything is going to the same bus at the same level, so there is depth but no differentiation. Depth requires instruments at different distances, not all instruments at one shared distance.
The room sounds fine until the loud sections. Density is overwhelming a static setting, which is the automation problem above. Ride the sends down under tutti passages before assuming the reverb choice is wrong.
A useful habit is checking the mix in mono. Reverb that sounds wide and lush in stereo often collapses into a wash of comb filtering when summed, and a lot of cinematic delivery still ends up mono in the real world. If the reverb disappears or the mix loses definition in mono, the tail is too dense or too early rather than too loud.
CPU, Latency, and When to Print
Convolution is expensive, and a template with three convolution buses running long impulse responses will cost you more than most of the instruments in the session. Long tails are the specific problem, because CPU scales with the length of the impulse response rather than with how loud you are sending to it.
Two practical mitigations. Run a single high quality convolution instance on a bus that other buses feed into, rather than three separate ones, and use a cheaper algorithmic reverb for any tail longer than about four seconds where the character of a real room is not doing identifiable work anyway.
Latency is the other trap. Convolution plugins can introduce meaningful latency, and while your DAW compensates during playback, it makes real time playing feel wrong. I bypass the reverb buses while recording MIDI and re-enable them for mixing, which is a habit worth building early.
Printing reverb into stems is a decision to make late and deliberately. Once a stem is printed wet, a director asking for less room is a rerender rather than a fader move, and directors ask for less room constantly. I print dry stems plus separate reverb return stems whenever the delivery spec allows it, which keeps the decision reversible.
A Starting Template
Here is the configuration I would build from scratch on a new system, offered as a starting point rather than a prescription.
Three convolution buses share one impulse response of a large scoring stage, differing only in pre-delay and filtering:
- Close bus. Pre-delay 35ms, high pass at 200Hz, low pass at 10kHz.
- Mid bus. Pre-delay 18ms, same filtering.
- Far bus. Pre-delay 4ms, high pass a little lower at 160Hz, early reflections favoured over tail.
Two more buses sit alongside them. An algorithmic unit with a six to eight second decay handles ambient tails and transitions, high passed at 250Hz and kept on its own fader so it can be automated per cue. A plate takes solo lines and vocals, with a de-esser in front of it.
Routing from there:
- Woodwinds and strings go primarily to Mid.
- Brass goes to Close for early reflections, with a small amount into Far.
- Percussion goes to Far, with a short send to Close so transients stay defined.
- Solo lines go to the plate and stay out of Far entirely.
Build it once, save it as your template, and adjust the three send levels per cue rather than rebuilding the routing. The gain is not that these numbers are correct, because they are only a reasonable place to begin. The gain is that every cue you write starts from the same acoustic assumptions, so your decisions accumulate instead of resetting.
Related Articles
The 7 Best Plate Reverb Plugins for Shimmering Vocals
Discover the 7 best plate reverb plugins for lush, metallic decays that sit perfectly in a dense mix. Validated on lead vocals and snares.
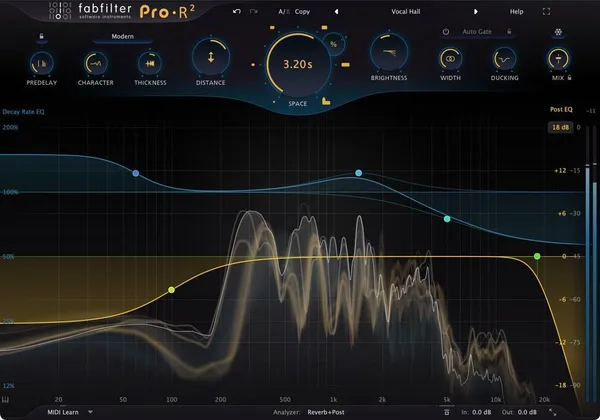
The 7 Best Vocal Reverb Plugins for Professional Mixes
Discover the 7 best vocal reverb plugins to sit lead vocals perfectly in a mix without muddying the low-end. Field-tested in professional sessions.
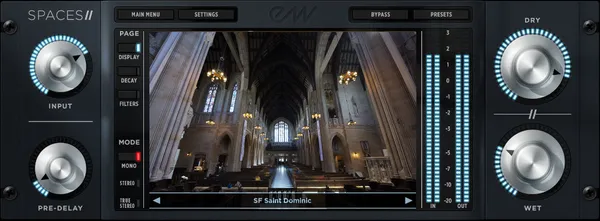
Best Convolution Reverbs (2026): Real Spaces
Put your instruments in a real hall. We review the top IR reverbs (Altiverb, Spaces II) for authentic orchestral blending.
Frequently Asked Questions
How much pre-delay should I use on an orchestral reverb?
Between 20 and 40 ms for instruments that should sound close, and less as they move back. Pre-delay is the gap between the direct sound and the room's response, so a longer gap reads as a source nearer the listener in a large space.
Should reverb be an insert or a send?
A send, for anything meant to share a space. Sends let every instrument feed one room at different amounts, which is what creates depth; insert reverbs give each track its own unrelated room and flatten the mix.
How do I reconcile libraries recorded in different halls?
Reduce each library to the mic position with the least room in it, then add one shared space on a send. You cannot remove a recorded hall, but you can stop it competing by leaning on the drier mics and letting your own reverb do the work.
What is the difference between algorithmic and convolution reverb?
Convolution replays the measured response of a real space and sounds authentic but fixed; algorithmic reverb generates a response mathematically and can be shaped freely. Convolution suits placing an orchestra in a believable hall, algorithmic suits effects and tails you need to control.
More Guides
All Guides →The Complete Guide to Modern Vocal Tuning and Production
An exhaustive, encyclopedia-level masterclass detailing the entire workflow of modern vocal editing, pitch correction, dynamic control, and spatial mixing.
Workflow Tricks for Film Composers: Speeding Up MIDI Production
Practical DAW organization strategies, macro setups, and routing techniques to dramatically increase composition and mixing speeds.
The Art of Brass Programming: Heroic Solos and Menacing Chords
How to correctly ride MIDI data, voice-lead chords, and mix multiple brass virtual instruments to achieve true cinematic power.
New reviews, no noise
Occasional email when we publish something worth your time. No daily digest, no vendor press releases.
We store only your address, never sell it, and delete it as soon as you unsubscribe. See our privacy policy.
Henry Foster
Henry is a mixing engineer with a background in broadcast and post-production. He obsesses over signal flow, gain staging, and the subtle coloration of analog-modeled plugins. His reviews focus on technical precision, CPU efficiency, and UI workflow.